I. Introduction
If you’re considering a home renovation or upgrading your flooring, removing carpet may be a task you’ll need to undertake. This guide is perfect for homeowners looking to remove carpet without the added expense of hiring a professional. Whether you’re a first-time homeowner or a seasoned DIY enthusiast, read on for a step-by-step guide to removing carpet.
Before diving in, it’s important to consider the benefits of removing carpet. Carpets can trap dirt, dust, and pet hair, which can be a source of irritation for people with allergies. Removing carpet can also increase your home’s value if you’re planning on selling.
II. Step-by-Step Guide to Removing Carpet
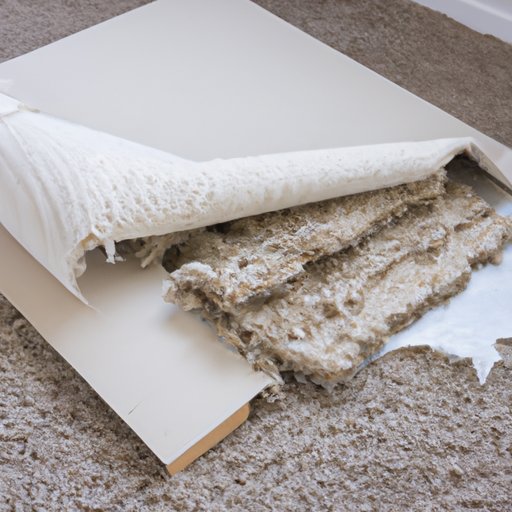
The first step in removing carpet is to gather the necessary tools and materials. You’ll need gloves, a utility knife, pliers, a pry bar, a dust mask, safety goggles, and a dumpster or large trash bags. Start by pulling up one corner of the carpet with your pliers. Use your utility knife to cut a section of the carpet into manageable pieces, and roll them up as you go. Repeat the process until the entire carpet is removed.
Next, you’ll need to remove the tack strips along the edges of the room. Use your pry bar and pliers to remove the strips one by one. Be careful not to damage the subfloor underneath. You may need a scraper to remove any adhesive residues left behind. If you’re working with concrete subfloors, you may need a special adhesive remover.
To remove the carpet pad, use your utility knife to cut the pad into small sections that are easy to handle. Roll up the pieces and dispose of them in a dumpster or trash bag. Use a scraper to remove any remaining adhesive on the subfloor.
Keep in mind that carpet removal can be a messy process, so be sure to have a vacuum handy to clean up any debris as you go.
III. DIY Tips and Tricks
Removing carpet can be challenging, but there are several DIY tips and tricks that can make the process run more smoothly. If you’re planning on installing new flooring, consider removing the baseboards first to make the transition easier. If you’re working with carpet that’s difficult to remove, try cutting it into sections with a utility knife to make it more manageable.
Another tip is to use a heat gun to soften any lingering adhesive. This makes it easier to remove with a scraper or by hand. Lastly, be sure to wear gloves and a dust mask to protect yourself from any dust or debris that may be harmful if inhaled.
IV. Alternative Methods for Removing Carpet
In addition to the traditional method of removing carpet, there are alternative methods to consider. One such method is using a carpet removal tool. This tool gripes and pulls up carpet from the subfloor. Another method is using dry ice. The dry ice freezes the glue and makes it easy to break away from the flooring below.
However, it’s important to note that these alternative methods can come with their downsides, such as the expense of purchasing the tool or the safety precautions needed when using dry ice.
V. Precautionary Measures
There are a few precautionary measures you should take before removing carpet, such as turning off electrical outlets and wearing protective gear like gloves and safety goggles. You should also seal off the room to prevent dust and debris from spreading throughout your home. This can be done using plastic sheeting and adhesive tape.
It’s crucial to take safety precautions seriously when removing carpet, as the process can be dangerous without proper preparation.
VI. Removing Adhesive Left Behind
Removing adhesive left behind after removing carpet can be a time-consuming process. The best way to tackle this is to use a scraper or heat gun. You may need to apply adhesive remover or solvent to soften the adhesive first. Once the adhesive has been removed, vacuum the area to remove any lingering residue or particles.
VII. Disposal Solutions
Dispose of old carpet is a key part of the removal process. One of the best disposal solutions is recycling. You may be able to find a local recycling center that accepts old carpets and padding. Carpet can also be repurposed into rugs or insulation for your attic.
In addition to being environmentally friendly, these disposal solutions can save you money and prevent waste from ending up in landfills.
VIII. Common Mistakes to Avoid
There are several common mistakes that homeowners make when removing carpet that can lead to problems. One such mistake is not moving furniture out of the room before starting the process. This mistake can lead to damage of the furniture and flooring. Another common mistake is forgetting to seal off the work area, which can spread dust and debris to other parts of your home and damage walls and fixtures.
Another essential mistake is not taking the necessary precautionary measures, such as wearing gloves and a dust mask. It’s important to remember that removing carpet can be a messy and potentially dangerous process if not done correctly.
IX. Conclusion
Removing carpet may seem like a daunting task, but with the proper tools and preparation, it can be accomplished easily. Remember to take precautionary measures and follow the step-by-step guide outlined in this article, and you’ll be able to remove your carpet like a pro. By following these tips, you’ll be able to dispose of your old carpet and open up new possibilities with your upgraded flooring.
