I. Introduction
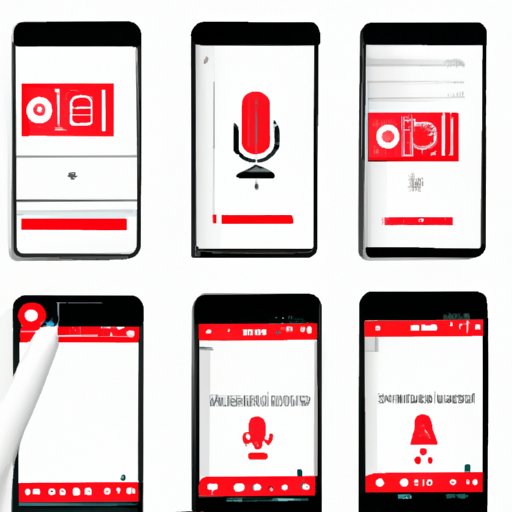
Recording on an iPhone is a useful feature that can help capture moments and make audiovisual resources. In this article, we will discuss different types of recordings possible on an iPhone and explain how to achieve high-quality results. From audio recordings to screen captures and phone calls, this guide will take you step-by-step through the recording features built into your iPhone.
II. 5 Simple Steps to Record Audio on Your iPhone
The easiest way to make an audio recording on your iPhone is by using the Voice Memos app. Here are five simple steps to start recording:
- Open the Voice Memos App on your iPhone.
- Tap the red circular button on the bottom center of the screen to begin recording.
- When finished recording, press the “Stop” button, located in the same place as the “Start” button.
- Tap the “Done” button to save your recording.
- Name your recording and choose to Save or Delete it.
III. Quick and Easy: Recording Video on Your iPhone
The simplest way to make a video recording on your iPhone is by using the Camera app. Here are steps for recording video on your iPhone:
- Open the Camera app and select the Video Camera from the options below
- Press the red “record” button located at the bottom center of the screen.
- When finished recording, press the red button once again to stop recording.
- View your video in the Photos app and edit or share as you wish.
Alternatively, you can use the Slo-Mo or Time-Lapse feature of your iPhone’s camera to make more dynamic-looking videos. Refer to your specific iPhone model’s Camera app for these options.
IV. Maximizing the Quality of Your iPhone Recordings
To achieve the best quality possible on your iPhone recordings, there are several factors to keep in mind. First, make sure your iPhone is fully charged to avoid recording interruptions or unexpected shutdowns. Next, consider your lighting source – natural lighting is ideal, but if not available, make sure you use sufficient lighting. Finally, think about your microphone placement, and try to minimize background noise. A simple tip is to try cupping your hand around the microphone to focus the sound direction and reduce unwanted noise.
You can also try experimenting with different recording apps to achieve higher quality results than with the Voice Memos app, and edit your recordings using the iMovie app or other video editing software.
V. Making a Screen Recording on Your iPhone: Step-by-Step Guide
Screen recording is a great feature to use for app demonstrations, tutorials, or when you want to save online content. Here are simple steps to make a screen recording on your iPhone:
- Open the Control Center by swiping down from the upper-right corner of the screen.
- Find the Screen Recording icon and press it.
- The screen will flash, signaling that recording has started.
- When finished, tap the red status bar on top and press “Stop” button from the notifications.
- Your screen recording will be saved to your Photos app.
Note that some apps might not allow screen recording due to copyright or privacy policies, so it’s important to be aware of these before proceeding with a screen recording.
VI. How to Use Your iPhone’s Voice Memos App
The Voice Memos app on iPhone is a powerful tool for recording audio. Here are steps for effectively using the app:
- Open the Voice Memos app and create a new memo by tapping the red button on the bottom center of the screen.
- Place the microphone close to the audio source, and make sure to adjust the input volume in Settings > Voice Memos > Microphone Audio Quality.
- When finished recording, save it by tapping the “Done” button and naming your memo. You can also share it by selecting the preferred option from the app interface.
The app also allows you to trim, edit, and label your audio recordings as necessary, making it a versatile tool for recording and organizing audio files on your iPhone.
VII. Recording Phone Calls on Your iPhone: What You Should Know
Recording phone calls on your iPhone is possible using third party apps, but the legality of doing so depends on state and country laws. Always review the legal implications of recording phone calls before proceeding with this option. In some cases, verbal consent from the other parties involved may be required before recording.
If you do decide to proceed with recording calls, some popular apps include TapeACall, Call Recorder, and Rev Call Recorder.
VIII. 5 Essential iPhone Recording Tips for Any Occasion
Summarizing the key tips for successful iPhone recordings:
- Ensure a fully charged iPhone battery and minimize interruptions.
- Use natural or sufficient lighting for better video quality.
- Minimize background noise and choose optimal microphone placement.
- Consider alternative recording apps for higher quality results.
- Experiment with various recording settings and edit your recordings with iMovie or other video editing software to enhance final results.
Besides these key tips, playing around with your iPhone’s features and practicing recording in various scenarios can help you gain confidence and knowledge in creating great recordings with this tool.
IX. Conclusion
This guide has provided a comprehensive overview of recording on iPhone, from audio recordings to screen captures and phone calls. With these simple steps, tips, and tricks, anyone can make successful recordings on an iPhone. Remember to be aware of legal implications when it comes to recording phone calls and always follow local laws.
