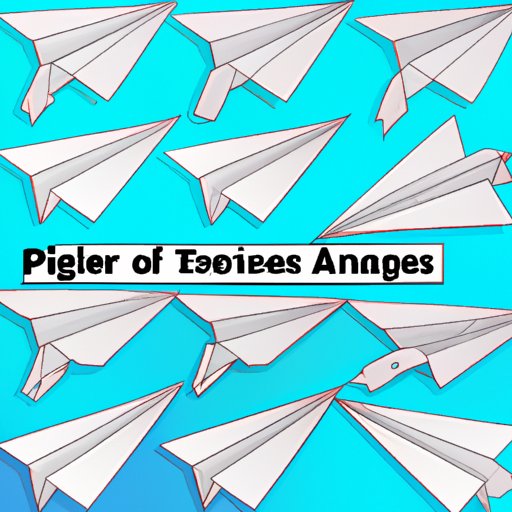
How to make paper airplanes: A creative guide
Paper airplanes have been a favourite pastime for generations. Whether you’re looking to kill some time, spark your creativity, or simply want to have some fun, making paper airplanes is an activity enjoyed by people of all ages. In this guide, we will explore the various techniques and themes for creating paper airplanes that are both easy to make and uniquely designed.
Step-by-Step Guide
Starting with a simple design is an excellent way to get the hang of making paper airplanes. Here’s an easy-to-follow guide:
- Start with a rectangular sheet of paper (8.5×11 inches or A4)
- Fold the paper in half horizontally and then unfold it
- Take the top two corners and fold them towards the center crease, creating a triangle shape on top
- Then, fold the remaining top section down towards the bottom edge, lining it up with the bottom edge
- Finally, fold the paper in half along the center crease
- Extend the wings a bit to create the final paper airplane
Voila! You have your very own paper airplane. Experiment with making the wings longer or shorter to see how it affects the way it flies.
Origami Technique
Origami is an ancient art of paper folding that can be used to create intricate paper airplanes. Here’s an easy-to-follow guide:
- Start with a square-shaped sheet of paper (6×6 inches or 15×15 cm)
- First, fold it in half diagonally and then unfold it
- Then, fold the top right corner down to the center crease
- Repeat with the top left corner
- Fold the entire shape in half along the center crease and unfold
- Next, fold the two flaps you just created on the top down to form the wings
- Finally, fold the triangular nose down slightly to create the tip of the airplane
Origami paper airplanes provide one-of-a-kind designs that are both intricate and beautiful.
Video Tutorial
Video tutorials are an excellent option for visual learners. Here’s a great video tutorial that demonstrates how to make a paper airplane:
https://www.youtube.com/watch?v=A1G_ByWJvMo
For those who prefer to read, here are the key steps outlined from the video tutorial:
- Start with a rectangular sheet of paper (8.5×11 inches or A4)
- Create a fold down the middle of the paper and then unfold it
- Next, fold the two upper corners of the paper to the center crease
- Fold the newly created top triangles along the crease
- After the wings have been folded, fold the paper again in half along the center crease
- Create a sharp crease on either side of the wings
- Create a fold on the tip of the plane and then fold the wings down to get the final airplane
Themed Paper Airplanes
If you’re looking for more creativity, try creating paper airplanes with specific themes. Here are some fun themes to get you started:
- Animals: Create your favorite animals using paper airplanes
- Superheroes: Create your favorite superhero mask using paper airplanes
- Famous airplanes: Create classic airplanes such as Boeing 747 or the Supermarine Spitfire
The possibilities are endless!
Extra Features
Adding some extra features to your paper airplane is a great way to add more fun and uniqueness to your designs. Here are some creative options:
- Motors: Attach a motor to the paper airplane to create a flying printer
- LEDs: Attach LEDs to your airplane to create a glowing effect when it is flying
- Parachute systems: Attach a parachute system so that it can float down gently after making the journey
Remember to always use caution when adding extra features to the paper airplane. Use common sense, and make sure that it is still safe for yourself and those around you.
Conclusion
Now that you’ve learned how to make paper airplanes, we hope that you will try the techniques discussed above. There is no limit to the creativity and fun that can be had with a few sheets of paper. Whether you’re making a simple paper airplane or a whimsical, intricately designed one, the possibilities are endless.
