Introduction
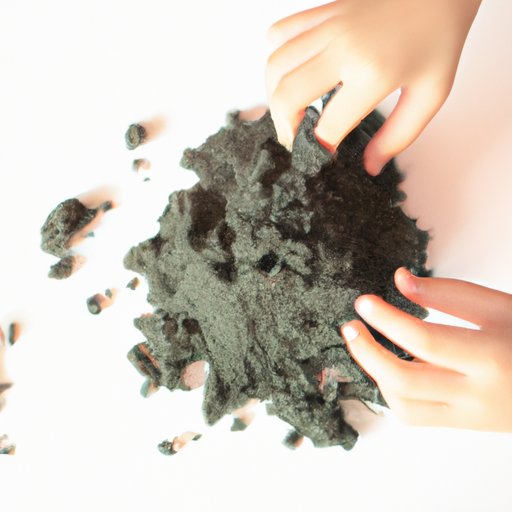
If you have kids, you’re probably familiar with kinetic sand. A popular sensory play material, kinetic sand is a moldable and squishy substance that offers endless hours of entertainment for children. Unlike regular sand, the grains of kinetic sand stick together without drying out, enabling kids to build structures, create shapes, and engage in imaginative play.
In this article, we will provide a comprehensive guide on how to make your own kinetic sand at home. Whether you’re a parent, teacher, or anyone who works with children, this article is for you. Our step-by-step guide, DIY recipes, and troubleshooting tips will help you create the perfect sand for sensory play.

How to Make Kinetic Sand at Home
Making your own kinetic sand is easier than you might think. You’ll need some basic ingredients and some elbow grease. Here’s what you’ll need:
– Play sand (2 cups)
– Cornstarch (1/4 cup)
– Dish soap (1 tsp)
– Water (1/4 cup)
Step 1: Mix the cornstarch and play sand in a mixing bowl until fully combined.
Step 2: In another bowl, mix the dish soap and water until bubbly.
Step 3: Slowly pour the soapy water mixture into the sand mixture, stirring constantly until the sand is moist and moldable.
Step 4: Knead the sand with your hands until it feels smooth and the consistency is consistent throughout.
And voila! You have your very own kinetic sand. You can store it in an airtight container for future use.
Safety Tips
While making your own kinetic sand is generally safe, there are a few things to keep in mind. Always supervise children when playing with sand, and don’t let them ingest it. Remember that kinetic sand is not edible and can be a choking hazard. Wash your hands thoroughly after making the sand, as well as after playing with it.
5 DIY Kinetic Sand Recipes to Try Out at Home
While the recipe we provided earlier is a great starting point, there are many other variations you can try out. Here are five different recipes to experiment with:
1. Edible Kinetic Sand Recipe
– Graham cracker crumbs (1 cup)
– Powdered sugar (1 cup)
– Cornstarch (1/2 cup)
– Coconut oil (3/4 cup)
Mix all the ingredients in a bowl until fully combined, and mold away!
2. Sparkly Kinetic Sand Recipe
– Play sand (2 cups)
– Glitter (1/4 cup)
– Dish soap (1 tsp)
– Water (1/4 cup)
Combine all the ingredients in a bowl, mixing until the sand is moist and sparkly.
3. Colored Kinetic Sand Recipe
– Play sand (2 cups)
– Tempera powder paint (1 tsp)
– Water (1/4 cup)
Mix the play sand and tempera powder in a bowl until fully combined. Slowly add water and mix to your desired consistency.
4. Scented Kinetic Sand Recipe
– Play sand (2 cups)
– Essential oil (10 drops)
– Baking soda (1/4 cup)
– Water (1/4 cup)
Mix the baking soda and essential oil in a bowl, then add to the play sand. Slowly pour in the water and mix until the sand is moist and fragrant.
5. Magnetic Kinetic Sand Recipe
– Play sand (2 cups)
– Iron oxide powder (5 tbsp)
– Vegetable oil (1/4 cup)
– Dish soap (1 tsp)
– Water (1/4 cup)
Mix all the ingredients in a bowl, stirring until the sand has a magnetic consistency.
Images
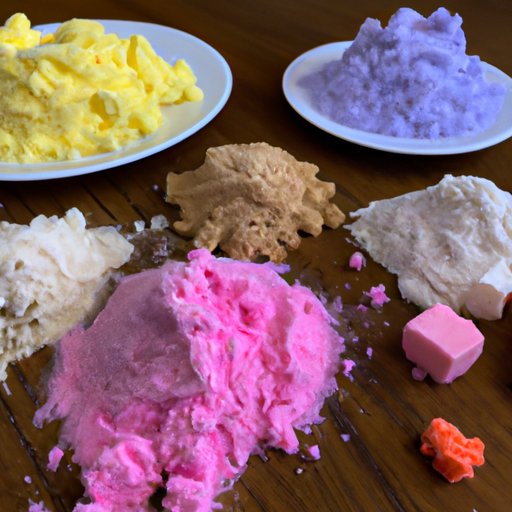
[Insert images of different types of kinetic sand here]
How to Make and Store Kinetic Sand for Kids’ Play Time
Once you’ve made your kinetic sand, it’s important to store it properly to keep it fresh and usable. Store it in an airtight container, preferably with a lid, to prevent it from drying out. Avoid exposing it to direct sunlight or extreme temperatures, which can cause the sand to harden or change texture.
Keeping Sand Fresh
If your sand starts to dry out, you can revive it by adding a few drops of water at a time and kneading it until it reaches its original consistency. You can also store it in the refrigerator to extend its shelf life.
Kid-Friendly Storage Options
If you want to make sensory play more accessible to your kids, consider creating a designated play area with open containers filled with kinetic sand. This will allow them to play and experiment while containing the mess. Some recommended storage options include plastic bins, trays, or shallow boxes.
Benefits of Making Your Own Kinetic Sand
While it’s easy to buy kinetic sand from the store, making your own has many benefits. Here are a few:
– It’s cost-effective. Making your own sand is much cheaper than continuously purchasing it from the store.
– You have control over the ingredients. By making your own sand, you can ensure all the ingredients are safe and suitable for your child.
– It’s a fun, hands-on activity. Making kinetic sand can be a fun activity for kids and adults alike, providing a creative outlet for imagination.
Tips for Troubleshooting Common Issues When Making Kinetic Sand
While making kinetic sand is relatively easy, you may encounter some issues. Here are some common problems and how to fix them:
– Sand is too wet: Let it dry out for a few hours or add more cornstarch
– Sand is too dry: Add a few drops of water at a time until it reaches the desired consistency
– Sand is not sticking together: Add more dish soap and mix thoroughly
– Sand is lumpy or has an odd texture: Knead it more until the texture is consistent throughout
– Sand is hard or clumpy: You may have stored it improperly, try reviving it by adding a few drops of water and kneading it
How to Customize Kinetic Sand with Colors and Scents
Making your own sand also allows you to customize it to your liking. Here are some ideas for adding color or scent:
– Use food coloring or tempera powder to add color to the sand
– Add a few drops of essential oils to create a fragrant scent
Warning
When adding color or scent, make sure to do so safely and appropriately. Always use food-grade coloring or tempera powder. Only use essential oils that are child-safe and non-toxic. Never use perfume or fragrance oils, as they can cause allergic reactions and are not safe for kids.
Science Behind Making Kinetic Sand and How It Works
Kinetic sand is made up of 98% sand and 2% polydimethylsiloxane. Polydimethylsiloxane is a type of silicone oil that is hydrophobic, meaning it repels water. When combined with sand, it creates a molding material that is soft and pliable. The sand particles adhere to each other (but not to hands or surfaces), allowing for easy sculpting and molding.
Conclusion
Making your own kinetic sand is a fun and cost-effective way to provide your kids with a sensory play material that they’ll love. With the provided recipes and instructions, you’ll be creating kinetic sand like a pro in no time. So go ahead and get your hands dirty while watching your kids play.
