I. Introduction
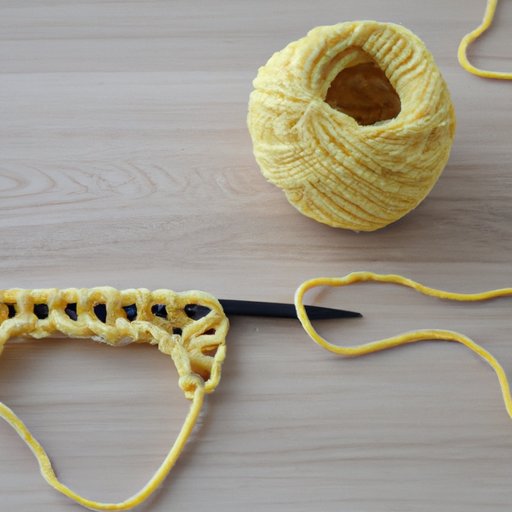
A slip knot is a basic knot used to start many crochet and knitting projects. It’s important to know how to make a slip knot because it’s the first step in starting any project. In this article, we’ll explore the art of making a slip knot, from the very basics to more advanced techniques.
II. Step-by-Step Guide: Making a Slip Knot for Beginners
Before we dive into the details, here’s a quick list of everything you’ll need to make a slip knot:
- A piece of yarn or string
- Your hands
Now, let’s get started:
- Hold the tail of the yarn in your left hand and the working yarn in your right hand. Make a loop with the working yarn by crossing the tail behind the working yarn and then over it.
- Hold the loop with your left thumb and forefinger, making sure the working yarn is behind the loop.
- Take the working yarn and wrap it around the loop, going from the front to the back.
- Pull the working yarn through the loop, making sure it’s snug but not too tight.
- You have now made a slip knot!
It’s important to make sure the knot is secure by pulling on the tail and working yarn. If it comes apart, you’ll need to start again.
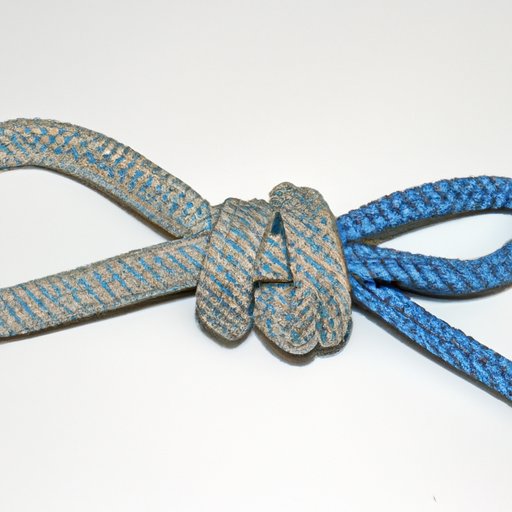
III. Mastering the Art of Making a Slip Knot: Tips and Tricks
Now that you know the basics, let’s look at some tips and tricks for making a perfect slip knot every time:
- A common mistake is to make the loop too small. This can make it difficult to pull the working yarn through. Make sure the loop is big enough to work with.
- If the knot is too loose, it may come undone. Make sure it’s snug, but not too tight.
- If you’re having trouble with the knot, try using a thicker yarn. This can make it easier to see what you’re doing.
- If you’re having trouble pulling the working yarn through the loop, try wetting the yarn slightly. This can make it slide through more easily.
- If you’re interested in more advanced techniques, try using different types of knots. There are many different knots used in knitting and crochet, each with their own unique properties.
IV. DIY Tutorial: Making a Slip Knot in Under 5 Minutes
If you’re looking for a quick and easy way to make a slip knot, try this DIY tutorial:
- Take a piece of yarn and fold it in half.
- Tie a knot at the folded end, leaving a loop at the other end.
- Put your left index finger and thumb through the loop.
- Take the working end of the yarn and wrap it around your right index finger.
- Pull the working end of the yarn through the loop from the back.
- Pull the loop tight.
- You have now made a slip knot!
This method is quick and easy, and doesn’t require any special tools or materials. It’s perfect for beginners who are just starting out.
V. An Easy and Foolproof Way to Make a Slip Knot
If you’re looking for an alternative technique for making a slip knot, try this easy and foolproof method:
- Hold the working yarn in your right hand and the tail in your left hand.
- Make a loop with the working yarn by crossing it over the tail.
- Hold the loop with your left thumb and forefinger.
- With your right hand, grab the working yarn and pull it through the loop.
- Pull the tail gently to tighten the knot.
- You have now made a slip knot!
This method is simple and easy to follow, and it’s almost foolproof. It’s a great option for beginners who are just starting out, or for more experienced knitters or crocheters who want a quick and easy method.
VI. How to Make a Slip Knot: The Essential Knot for Knitters and Crocheters
The slip knot is an essential knot for knitters and crocheters because it’s used to start almost every project. Here are some different ways you can use a slip knot in your projects:
- To start a new row
- To add a new ball of yarn
- To attach a new color
It’s important to master the art of making a slip knot so that you can start your projects with confidence.
VII. Slip Knot Mastery: Perfecting Your Technique for Seamless Crochet and Knitting
Now that you’re familiar with the slip knot and how to use it, let’s take a closer look at how to use it in different parts of your projects:
- When starting a new row, make sure the slip knot isn’t too tight or too loose. This can affect the tension of your stitches.
- When adding a new ball of yarn, make sure the slip knot is secure so that your work doesn’t come apart.
- When attaching a new color, make sure the slip knot is in the right place so that it doesn’t show in your work.
By mastering the art of making a slip knot, you can ensure that your projects look seamless and polished.
VIII. From Basic to Pro: Understanding and Making the Perfect Slip Knot
Finally, here are some tips for taking your slip knot-making skills to the next level:
- Practice, practice, practice! The more you make slip knots, the easier it will be.
- Try different materials and thicknesses of yarn to see how they affect the knot.
- Experiment with different types of knots to see which ones work best for your projects.
By understanding and perfecting the slip knot, you can take your knitting and crochet skills to the next level.
IX. Conclusion
The slip knot is a simple but essential knot for knitting and crochet. By mastering the art of making a slip knot, you can start your projects with confidence and ensure that your work looks seamless and polished. Whether you’re a beginner or an experienced knitter or crocheter, there’s always more to learn about this basic but essential technique.