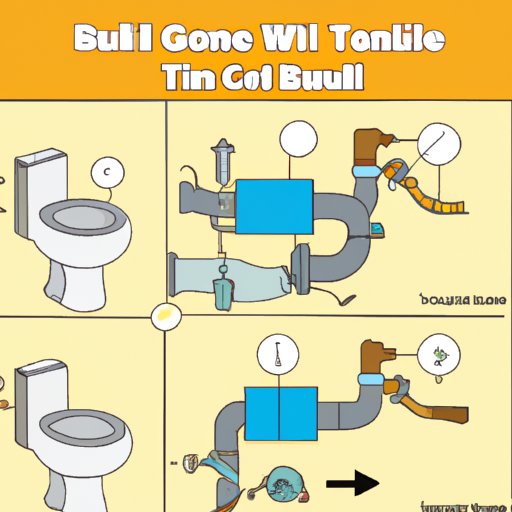
How to Fix a Running Toilet: A Step-by-Step Guide to DIY Plumbing
A running toilet is an issue that can drastically impact your household’s water usage and expenses. If left unfixed, it can waste hundreds of gallons of water a day and jack up your water bill. However, the good news is that fixing a running toilet is a relatively easy DIY plumbing project that you can undertake without too much hassle. In this article, we offer a step-by-step guide on how to fix a running toilet and provide tips and tricks that you can use to troubleshoot other common toilet issues.
Potential Causes of a Running Toilet
Before you can get started on fixing a running toilet, it is essential to identify the root cause of the issue. Here are some potential causes of a running toilet:
Faulty Flapper Valve
The flapper valve is responsible for controlling the flow of water into the toilet tank. If it becomes worn out, it may not seal correctly, allowing water to keep flowing into the toilet bowl.
Worn-out Fill Valve
The fill valve is responsible for refilling the tank with water. If it becomes worn out, it may not fill the tank correctly, leading to a running toilet.
Other Common Issues
Other common issues that can lead to a running toilet include a misaligned flush valve, a lift chain that is too long or too short, or a faulty float valve.
Step-by-Step Instructions for Fixing a Running Toilet
Now that you have identified the potential root cause of the issue, it’s time to fix the running toilet. Here are step-by-step instructions for fixing a running toilet:
Turn Off Water Supply
The first step in fixing a running toilet is to turn off the water supply valve, which is usually located behind the toilet near the floor.
Empty the Tank and Bowl
Flush the toilet to empty the tank and bowl. This step is vital as it prevents water from spilling out when you remove the toilet parts.
Identify and Fix the Root Cause of the Issue
Since you have already identified the potential root cause of the issue, the next step is to remove the toilet tank lid and inspect the components. If it is a faulty flapper valve, you will have to remove the old one and replace it with a new one. If it is a worn-out fill valve, remove the old one and replace it with a new one too.
Reassemble the Toilet
Once you have identified and fixed the root cause of the issue, it’s time to reassemble the toilet. This includes replacing the toilet tank lid, turning on the water supply, and letting the tank fill up with water.
Test for Leaks
Testing for leaks helps to ensure that the issue is entirely fixed. Flush the toilet and observe whether the toilet bowl fills with water and whether water continues to flow into the bowl.
Tips and Tricks for DIY Plumbing
Safety Precautions
Before starting any DIY plumbing project, it is essential to take necessary safety precautions. These include turning off the water supply, wearing safety goggles and gloves, and ensuring that power tools are switched off before making any adjustments.
Use of Plumbers’ Tape for a Snug Fit
To get a tight seal, use plumbers’ tape to wrap around the threads of the fill valve before screwing it into the tank.
Troubleshooting Persistent Issues
If the issue persists after following the steps above, you may have to take the toilet apart to inspect the individual components thoroughly. Consult the manufacturer’s guide for instructions on how to disassemble your specific toilet model.
Other Common Toilet Issues and How to Fix Them
Clogged Toilet
A clogged toilet is a common plumbing problem that you can solve by using a plunger or plumbing snake.
Weak Flush
If your toilet has a weak flush, it may be because of a clog in the trapway. Use a plunger or plumbing snake to remove any obstruction, and test the flush.
Toilet Won’t Refill
If your toilet won’t refill, it may be due to a faulty fill valve. Turn off the water supply valve, flush the toilet to empty the tank and bowl, remove the old fill valve, and install a new one.
Conclusion
Fixing a running toilet is a simple DIY plumbing project that can save you hundreds of dollars on your water bill. Follow the steps above to identify and fix the issue. However, if the issue persists, you may want to consider seeking professional plumbing help. Remember to always take necessary safety precautions and refer to the manufacturer’s guide for any specific instructions. With these tips and tricks, you can easily troubleshoot other common toilet issues and minimize your household plumbing expenses.
