I. Introduction
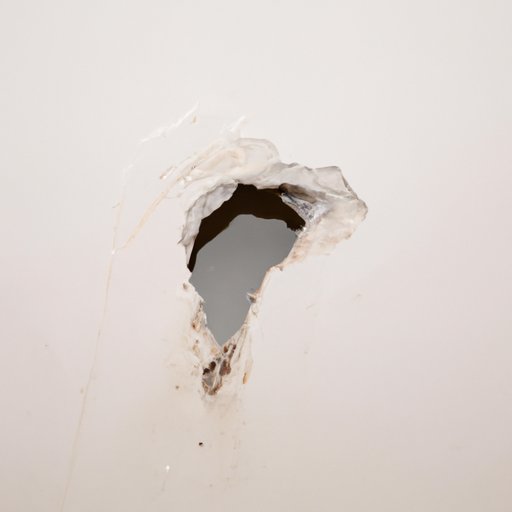
Have you ever accidentally punched a wall or accidentally knocked it with a piece of furniture, leaving a stubborn hole in it? We’ve all been there. But not everybody knows how to fix the problem. And this is the reason why learning how to fix a hole in the wall is essential for every homeowner. In this article, we will provide you with a step-by-step guide on how to fix the hole, offer tips and tricks for proper wall repair, and identify different types of wall damage, so you can patch them up like a pro in no time.
II. DIY Guide: A Step-by-Step Method to Fix a Hole in the Wall
Before beginning your wall repair, you’ll need to gather the necessary tools and materials. Some of the tools you’ll need include a sanding sponge or sandpaper, paintbrush, putty knife, spackle, patching plaster, and primer, and paint that matches your wall’s current color. Once you have that, you can follow these easy steps:
- Clean the hole with a damp cloth to remove dirt and debris and let it dry completely.
- Cut a piece of self-adhesive mesh patching plaster large enough to cover the hole, and place it on the hole.
- Apply spackle over the patching plaster using a putty knife, extending at least 2 inches beyond the hole’s diameter.
- Let the spackle dry, and lightly sand it until it’s flush with the wall.
- Apply a second layer of spackle and let it dry until it’s completely dry.
- Once the second layer of spackle is dry, sand it again before applying a third and final layer.
- Sand it a final time, prime, and paint.
III. Tips and Tricks for Fixing Holes in Your Walls Like a Pro
Working with a wall that has a hole is challenging, especially when you want to ensure the patch blends in with the rest of the wall. Here are some tips and tricks to help you repair holes like a pro:
- When applying spackle, be sure to smooth it out evenly, and shape it to match the wall’s texture.
- For a seamless repair, apply the spackle from the center of the hole to the exterior area.
- Be sure to wipe off any excess spackle before it dries to avoid sanding later on.
- Let each layer of spackle dry completely before applying the next one.
- Consider using a small roller instead of a paintbrush to apply the final paint coat for a more even finish.
- When painting, apply it in thin layers to let each coat dry completely.
IV. Got Holes on Your Wall? Here’s What You Should Do
Before you begin any wall repair, it’s important to identify the type of wall damage you’re dealing with. Generally, there are three types of wall damage: small holes (less than 2 inches in diameter), medium holes (2-6 inches in diameter), and large holes (6-12 inches in diameter). Here’s what you should do for each type of wall damage:
- Small Holes – Follow the steps in section II, and you’re all set.
- Medium Holes – Cut a piece of drywall to fit over the hole and place it over the hole with adhesive tape. Following step II, continue with the wall repair process.
- Large Holes – Follow the same steps as medium holes, but use a stronger adhesive tape to hold the drywall in place. After you apply the new coat of paint, you may need to sand the wall until it’s smooth.
If the hole is bigger than 12 inches, it’s recommended that you consult a professional to address the issue.
V. Fixing Holes in Your Wall Has Never Been So Easy: Follow These Simple Steps
If you’re short on time but need to get that wall fixed, you can follow these simplified steps:
- Clean the hole with a damp cloth to remove any debris.
- Cut a square of wallboard patch and insert it over the hole.
- Use a putty knife to apply spackle around the edges of the patching plaster.
- Let it dry, sand it, and paint it.
VI. Handyman’s Guide: How to Repair Holes in a Wall With Ease
The following tools can come in handy when fixing some holes in the wall:
- Saw
- Utility Knife
- Straight Edge
- Ruler
- Combination Square
For larger holes, follow step II in the same way, but use a drywall saw to cut around the wallboard to fit over the hole before spackling the wall. Once that’s done, sand and paint it to blend it in with the other walls.
VII. Say Goodbye to Holes in Your Wall: An Expert’s Guide to Wall Hole Repair
Before you tackle your wall repair, here are some key takeaways from the article:
- When working with an uneven wall, take measures to ensure the patch is even, and matches the wall’s texture.
- Apply spackle in thin layers, letting it dry before each coating is applied.
- Sand away any bumps and irregularities after each layer of spackle is dry.
- For larger holes, consider using drywall to patch and match the patch to your wall’s texture.
- When you’re satisfied with the patch, prime and paint it carefully to match the surrounding wall surface.
- Maintain your wall’s condition regularly to avoid recurrence of wall damage by frequently inspecting its surface and seeking professional help when necessary.
VIII. Conclusion
Repairing a wall is easy if you know the right tools and steps to follow. It’s essential to learn how to repair wall damage to restore the beauty of your walls and keep your place feel comfortable and safe. Taking care of your house should always be a top priority. With the tips and steps we have provided, we hope you are now equipped with all the information you need to fix holes in the wall like a pro.
