Introduction
Whether you are an amateur or professional artist, drawing a head can be a challenging task. However, with the right set of instructions and techniques, anyone can improve their head-drawing skills. The purpose of this article is to provide step-by-step instructions, tips, tricks, and exercises that will help you achieve better results when drawing heads.
Step-by-Step Drawing Tutorial
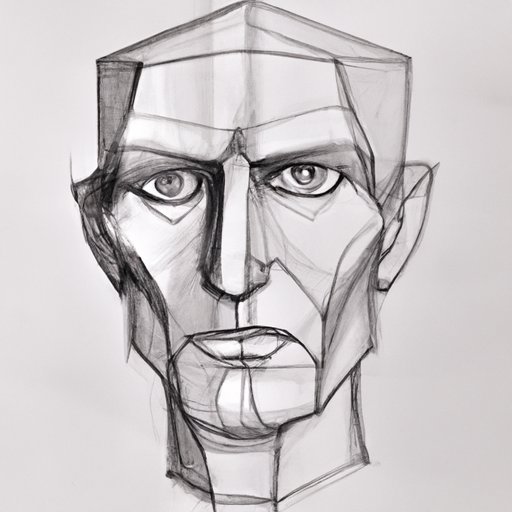
Drawing a head can be broken down into simple steps that, once mastered, will help you achieve more realistic and accurate portraits. The first step in drawing a head is to sketch out the basic shape. Start with a circle that represents the skull. Then, sketch out a line from the top of the circle to the bottom, representing the center of the face. Next, add two lines on either side of the centerline to represent the width of the head.
The second step is to add guidelines for the eyes and nose. The eyes should be placed halfway down the head, while the nose should be positioned in the bottom third of the circle. Once you have sketched out these guidelines, you can start adding the details of the face, such as the eyebrows, mouth, and ears.
Finally, once you have the basic features of the head in place, you can refine the details and add shading to create depth and dimensionality. Remember to pay attention to proportion, as getting the size and placement of each feature correct is crucial to creating a realistic-looking portrait.
Tips and Tricks
Aside from following the step-by-step tutorial, there are a few tips and tricks you can use to improve your head-drawing skills. One important technique is to pay close attention to the direction of the light source and how it affects the shadows on the face. Shading and creating textures are essential for creating depth in your artwork.
Another helpful technique is to use reference images when drawing, especially when it comes to aspects like facial features. Studying reference images can help you develop a better understanding of proportion and placement. It is also essential to experiment with different techniques and mediums to find what works best for you.
Anatomy
To improve your head-drawing skills, it is important to have a basic understanding of head anatomy. Knowing the underlying bone and muscle structure of the face can help you create more realistic-looking portraits. The skull is the foundation of the head, and understanding its shape and size is crucial to getting proportions right.
Facial muscles also play an essential role in creating realistic portraits. Understanding the movement and structure of the facial muscles can help you create more expressive faces. Key features like the nose, mouth, and eyes have their unique underlying structures, and understanding these structures can help you achieve better results.
Drawing from Different Angles
Drawing a head from various angles can present a unique set of challenges. It is crucial to adjust proportions and features to create realistic-looking portraits. When drawing a head in a three-quarters view, for example, the eye on the far side of the face should be smaller than the one on the near side. When drawing a head from a low angle, the proportions of the features will be distorted, and the chin will appear more prominent.
Practice Exercises
Like any other skill, improving your head-drawing skills will require practice. There are several exercises you can do to improve your skills, such as drawing heads in different positions or emotions and using different drawing mediums to see what works best for you. Experiment with shading and practicing the use of tone to get a better understanding of how to create depth in your artwork.
Troubleshooting Common Problems
When drawing heads, it is common to encounter issues such as incorrect proportions, problems with facial features, and uneven shading. One of the most effective ways to troubleshoot these problems is to take a step back and look at your work from a distance. This can help you see the big picture and identify areas that need improvement.
If you are struggling with proportion, try using guidelines to map out the face and ensure that each feature is correctly placed. If you are having trouble with facial features, try breaking them down into fundamental shapes and building up from there. Similarly, if you are struggling with shading, try practicing using different tones and experimenting with the direction of the light source.
Conclusion
Drawing a head can be a challenging task, but with the right set of instructions and techniques, anyone can improve their skills. Paying attention to proportion, using reference images, and practicing different techniques can all contribute to better head-drawing skills. By following the step-by-step tutorial and practicing the exercises provided, you can improve your head-drawing skills and achieve more realistic and accurate portraits.
