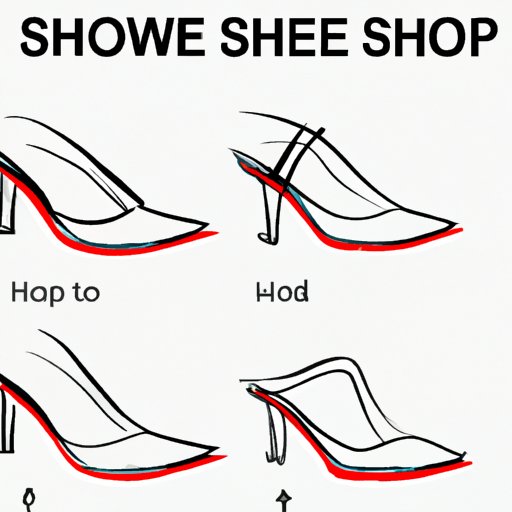
How to Draw a Shoe: Tips and Techniques
Drawing shoes can be intimidating, especially if you’re a beginner. However, with some tips and techniques, you can learn how to draw a shoe that looks realistic and professional. In this article, we’ll break down the process of drawing a shoe step-by-step and provide tips for creating different textures and styles. We’ll also offer common mistakes to avoid, showcase different tools and materials, and suggest advanced techniques for more experienced artists. By the end of this article, you’ll have all the knowledge you need to draw shoes confidently.
Step-by-Step Tutorial
Before you start drawing a shoe, it’s essential to understand its basic structure. A shoe generally consists of three parts: the upper, the sole, and the heel. Start by drawing a horizontal line for the ground. Next, sketch a vertical line to indicate the center of the shoe. Then, draw the basic shape of the shoe, using circles and ovals to indicate the different parts. Add details, such as laces and patterns, to complete the shoe. Remember to sketch lightly and erasing lines when necessary.

Video Tutorial
If you’re a visual learner, a video tutorial can be a great way to learn how to draw a shoe. Check out this video, which offers step-by-step instructions on how to draw a basic shoe.
Different Shoe Styles
Shoes come in all shapes and sizes, and each style has unique features that distinguish it from other styles. Some common shoe styles include sneakers, boots, sandals, and dress shoes. Here are some tips for drawing different shoe styles:
- Sneakers: Draw the tongue of the shoe slightly raised and the laces crisscrossing over it. Sketch out details such as a rubber sole, air pockets, and stitching.
- Boots: Sketch out the height and shape of the shaft in addition to drawing the basic shoe structure. Add details such as buckles, zippers, and laces if needed.
- Sandals: Focus on the straps and the shape of the sole. Add details such as cut-outs and embellishments.
Tips and Tricks
To create a realistic shoe drawing, it’s important to understand how to add depth and texture. Here are some tips and tricks:
- Shading: add shading to your drawing to create depth and form. Lightly shade in the areas where there are shadows and leave the rest of the shoe blank or lightly shaded.
- Textures: different shoe materials have different textures. To achieve a leather texture, add shading lines depicting the texture of leather. For canvas textures, create a cross-hatching pattern.
Common Mistakes to Avoid
When drawing shoes, there are a few common mistakes that beginners tend to make. Here are some mistakes to avoid:
- Skipping the basic structure: make sure you have the basic structure of the shoe set before adding details.
- Wrong proportions: shoes come in different sizes and shapes – make sure your drawing appropriately represents the real life size of the shoe.
- Overlooking texture: not showing the texture appropriately makes the drawing not look real.
Tools and Materials
There are different tools you can use to draw shoes, including pencils, markers, and digital drawing software. Pencils are great for creating outlines while markers provide bold lines and strong dark areas. Digital drawing offers added benefits like not requiring a physical space and the ability to undo any mistake instantly.
Advanced Techniques
For experienced artists, there are more advanced techniques to create dynamic and memorable shoe drawings. Some of these techniques include using perspective, creating dynamic shoe poses, and using abstract imagery.
Conclusion
Drawing a shoe takes practice and patience. But with these tips and techniques, you can start creating realistic and unique shoe drawings that will wow your audience. Take inspiration from different shoe styles and experiment with different tools and materials to find what works best for you. Have fun with the process, and remember, practice makes perfect.
