Introduction
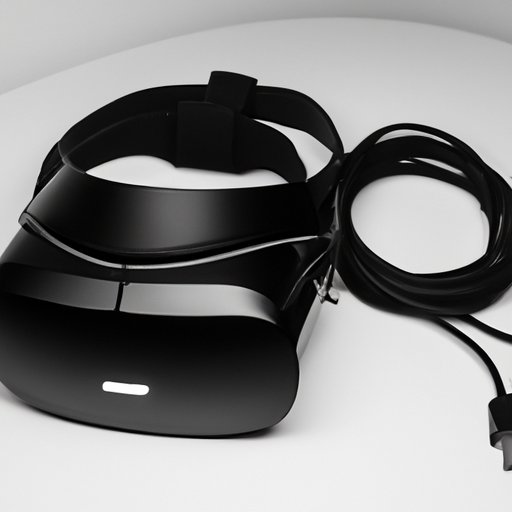
Oculus Quest 2 is one of the most popular standalone VR headsets on the market, providing users with a high-quality VR experience without requiring a PC connection. However, connecting Oculus Quest 2 to a PC offers even more possibilities, such as playing PC games and accessing PC VR features. In this guide, we will explore how to connect Oculus Quest 2 to a PC and provide you with tips for a seamless connection.
Step-by-Step Guide
To connect Oculus Quest 2 to a PC, follow these steps:
Step 1: Install Oculus App on PC
Download and install the Oculus app on your PC from the official Oculus website. If you already have the app installed, make sure it is up to date.
Step 2: Connect Oculus Quest 2 to PC
Connect Oculus Quest 2 to your PC using a USB-C cable. You will receive a prompt on Oculus Quest 2 to “Allow Access to Data”, select “Allow” to continue.
Step 3: Enable Oculus Link
In the Oculus app, navigate to “Settings”, then “Devices” and enable Oculus Link. Make sure your Quest 2 is turned on and connected to your PC.
Step 4: Launch PC VR Content
You can now launch any PC VR content you have installed in your Oculus app and enjoy the full VR experience on your Oculus Quest 2 headset.
Check out this video guide for a visual demonstration:
Troubleshooting Guide
Despite following the steps listed above, there may be issues that arise during the connection of Oculus Quest 2 to a PC. Here are some common problems and solutions:
Problem 1: Oculus Quest 2 Not Detected on PC
If your Oculus Quest 2 is not detected on your PC, try these solutions:
- Make sure your Oculus Quest 2 is connected to your PC using a high-quality USB-C cable.
- Reboot your Oculus Quest 2 and PC.
- Disable any antivirus software or firewall that may block the connection to your headset.
- Try a different USB port on your PC.
Problem 2: PC VR Content Not Running Properly on Oculus Quest 2
If you experience performance issues or low graphics quality with your PC VR content on Oculus Quest 2, try these solutions:
- Make sure your PC meets the minimum hardware requirements for the VR content you want to run. For high-end VR content, a powerful PC with a dedicated GPU is required.
- Lower the graphics quality settings in the VR content’s options to improve performance.
- Try different USB-C cables for improved data transfer rates.
- Close any unnecessary background apps or programs on your PC.
Different Connection Options
There are two main ways to connect Oculus Quest 2 to a PC: Wired and Wireless. Here are the pros and cons of each method:
Wired Connection
Connecting Oculus Quest 2 to a PC using a wired USB-C cable is the most popular method. Here are the advantages and disadvantages of a wired connection:
Pros
- Provides the most stable and consistent data transfer rate.
- Lower latency and faster response time for smoother VR experience.
- No need for a high-end router or Wi-Fi network.
Cons
- Requires a long USB-C cable for flexibility of movement.
- Cables can be cumbersome and get in the way of movements.
Wireless Connection
Connecting Oculus Quest 2 to a PC wirelessly is a more flexible solution. Here are the advantages and disadvantages of a wireless connection:
Pros
- Freedom of movement without any cables or restrictions.
- No need for long cables or USB-C ports on the PC.
Cons
- Requires a high-end Wi-Fi router for optimal performance.
- Higher latency and lower data transfer rate can cause lag or stutter in VR experience.
- Requires additional hardware and software to enable wireless VR streaming.
Accessory List
Here are some recommended hardware accessories that can enhance your PC VR experience when connecting Oculus Quest 2:
Oculus Link Cable
The official Oculus Link Cable is the recommended cable for wired connection between Oculus Quest 2 and PC. The 16-foot cable provides flexibility of movement and high-speed data transfer for optimal VR performance.
Anker USB-C Cable
If you’re looking for a third-party USB-C cable, the Anker Powerline+ USB-C to USB-A 3.0 Cable is a reliable and affordable option. It’s a 10-foot cable with reinforced stress points for added durability.
Tripod Stand
A tripod stand can help keep your Oculus Quest 2 in place during VR sessions, providing more stability and ease of movement. The AmazonBasics Lightweight Camera Mount Tripod Stand is a sturdy and affordable option.
Comparison Guide
Here is a comparison between Oculus Quest 2’s PC connection and other VR headsets in the market:
Oculus Quest 2
Oculus Quest 2 offers both wired and wireless connection options and provides a seamless PC VR experience with high-quality graphics and low latency. It’s also stand-alone, requiring no PC connection for an impressive VR experience.
Oculus Rift S
Oculus Rift S is purely a PC VR headset, requiring a wired connection to a PC for all VR content. It provides a high-quality VR experience with a high-resolution display, but lacks the freedom of movement that Oculus Quest 2 offers.
Valve Index
Valve Index is a high-end PC VR headset that offers exceptional graphics and a wide field of view. However, it comes with a hefty price tag and requires a powerful PC to run optimally.
Conclusion
Connecting Oculus Quest 2 to a PC opens up a new world of possibilities for VR enthusiasts. Whether you prefer a wired or wireless connection, using the right accessories and following our step-by-step guide can enhance your VR experience and provide hours of entertainment. Keep in mind the compatibility and hardware requirements of your PC and VR content to ensure optimal performance.
