Introduction
When was the last time you cleaned your home’s dryer vent? If you can’t remember, it’s probably overdue for a cleaning. A clean dryer vent is crucial to the safety and efficiency of your home, as a clogged vent can lead to fires, expensive energy bills, and even carbon monoxide poisoning. Keep reading to learn why cleaning your dryer vent is so important and how you can do it yourself with this step-by-step guide.
Why It’s Important
A clogged dryer vent is a serious fire hazard. According to the National Fire Protection Association, dryers and washing machines were involved in one out of every 22 home structure fires reported to U.S. fire departments in 2006-2010. Additionally, blocked vents can cause carbon monoxide buildup in homes that use gas dryers, presenting an even greater threat to your family’s safety.
In addition to safety concerns, clogged dryer vents lead to decreased energy efficiency. A dryer vent that is blocked with lint and debris will impede airflow, causing your dryer to run longer and use more energy than necessary. Over time, this can lead to higher energy bills and costly repairs if your dryer overheats and breaks down.
Step-by-Step Guide
Now that you know why it’s so important to clean your dryer vent, you’re probably wondering how to do it. Luckily, cleaning your dryer vent is a simple DIY project that can be done in just a few steps. Follow these instructions to clean your dryer vent:
Step 1: Gather Necessary Materials
Before you begin, make sure you have all the necessary materials on hand. You’ll need:
- A vacuum cleaner with a hose attachment
- A screwdriver
- A vent brush or duct cleaning kit
Note: You can purchase a vent cleaning kit at your local hardware or home improvement store.
Step 2: Disconnect the Dryer
The first step is to unplug your dryer and pull it away from the wall. Make sure you turn off your dryer’s gas and/or electric supply before beginning.
Step 3: Clean the Lint Trap
Next, remove the lint trap from your dryer and clean it by hand or with a vacuum cleaner. Be sure to remove any lint or debris that may have accumulated inside the dryer as well.
Step 4: Remove the Vent Cover
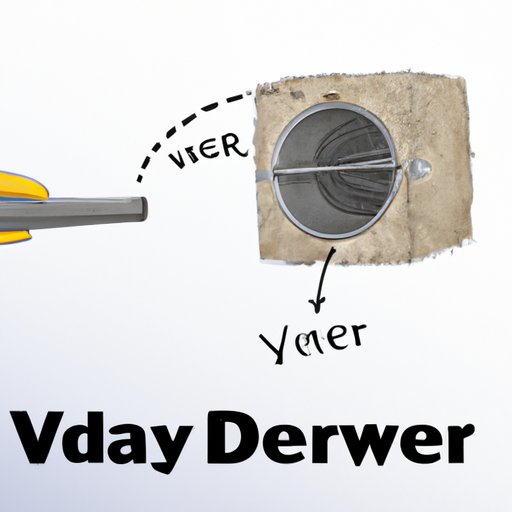
Using a screwdriver, remove the vent cover on the outside of your home. Set the cover aside, but be sure not to lose any screws or other small parts.
Step 5: Clean the Vent Pipe
Attach the vent brush or duct cleaning kit to your vacuum cleaner hose. Insert the brush or kit into the vent pipe and clean the inside. Be sure to remove any debris that you find.
Step 6: Reassemble the Vent System
Once you’ve finished cleaning, reattach the vent cover and plug your dryer back in. Move your dryer back into place and inspect the vent hood on the outside of your home for any signs of damage. If you notice any damage, call a professional for repairs.
DIY Solutions
If you don’t have a vent brush or duct cleaning kit on hand, there are still other DIY solutions for cleaning your dryer vent. You can use a vacuum cleaner with a hose attachment or a leaf blower to blow air through the vent pipe and remove any debris that may be blocking it.
Another DIY solution is to use an old pantyhose. Simply attach the pantyhose to the end of your vacuum hose and insert it into the vent pipe. Move the pantyhose back and forth to remove any lint or debris that may be blocking the vent.
Expert Advice
We spoke with a seasoned professional in the HVAC industry who shared some best practices for cleaning your dryer vent:
- Clean your dryer vent at least once per year, or more often if you have pets or use your dryer frequently.
- Use a vent brush or duct cleaning kit to ensure a thorough cleaning.
- Inspect your dryer vent periodically for damage or signs of wear and tear, and replace any damaged parts as soon as possible.
If you are uncomfortable with cleaning your dryer vent yourself, or if you don’t have the necessary tools or expertise, it’s always best to hire a professional. They can provide a thorough cleaning and inspect your dryer vent for any issues that may require further attention.
Common Mistakes
While cleaning your dryer vent is a simple DIY project, there are some common mistakes that people make when attempting to do it themselves:
- Not disconnecting the dryer from the power source before beginning.
- Using the wrong type of brush or cleaning tool for the job.
- Reattaching the vent cover improperly, causing the vent to become blocked once again.
To avoid these mistakes, be sure to carefully read instructions and double check your work before reattaching the vent cover.
Maintenance Schedule
Now that you’ve cleaned your dryer vent, it’s important to maintain it properly to ensure your home stays safe and energy efficient. We recommend scheduling routine cleanings at the following intervals:
- Single-family homes: At least once per year
- Condominiums and apartments: Twice per year
- Homes with pets or heavy dryer use: Three to four times per year
Conclusion
Cleaning your dryer vent is an easy DIY project that can have a big impact on your home’s safety and energy efficiency. Now that you know how to do it, we encourage you to add dryer vent cleaning to your regular home maintenance routine. Don’t forget to follow these tips to keep your dryer vent clean and your family safe for years to come.
