Tinting Windows: A Comprehensive Guide to DIY Window Tinting
Window tinting is an excellent way to enhance the appearance of your car or home, while also providing numerous functional benefits, such as increased privacy, reduced heat and glare, and improved energy efficiency. Although many people hire professionals to tint their windows, with the right tools and instructions, you can do it yourself and achieve professional-looking results. In this article, we will provide you with a comprehensive guide to tinting windows, breaking down the process into easy-to-follow steps, discussing the benefits of DIY window tinting, addressing the different types of window tint available, providing guidance on avoiding common mistakes, and educating you on how to save money with DIY window tinting.
A Step-by-Step Guide to Window Tinting
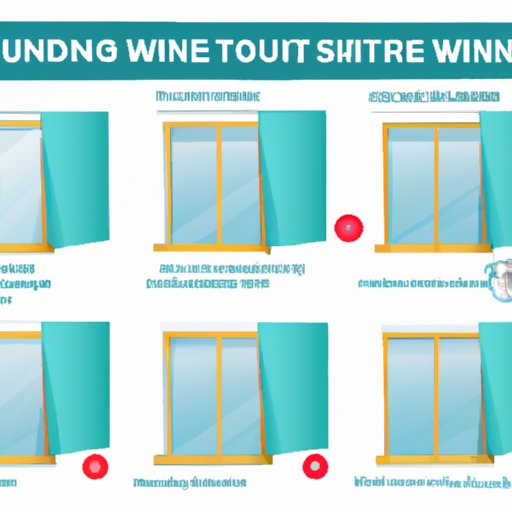
The window tinting process involves several steps that you must follow to achieve high-quality results. Here are the necessary steps:
- Step 1: Gather Your Materials
- Step 2: Clean the Windows
- Step 3: Cut the Film
- Step 4: Apply the Film
- Step 5: Heat and Trim the Film
- Step 6: Let It Cure
Before you begin, you will need to have all the necessary materials, including a window film, a squeegee, a heat gun, and a razor blade.
Clean your windows with soap and water to remove any dirt, dust, or grime that may affect the window film’s adhesion. Dry the windows using a microfiber cloth.
Measure the dimensions for the window and then cut the film accordingly. It is important to cut the film slightly larger than the window, to allow for adjustments.
Spray the window lightly with water and then carefully apply the film to the window, using a squeegee to smooth it out and remove any air bubbles.
Use a heat gun to heat the window film, which will help the film conform to the window’s curves and edges. Then, use a razor blade to trim any excess film.
Allow the window film to cure for at least 24 hours, to ensure that it adheres properly to the window.
The Benefits of Tinting Your Own Windows: A DIY Guide
There are significant benefits to taking on your own window tinting project, such as cost savings, customization, and the opportunity to learn a new skill. When you DIY your window tinting, you can tailor your results to your specific preferences, ensuring that you end up with a unique look that suits your style. Additionally, by doing it yourself, you can save money that you would otherwise have to spend on a professional installation.
To ensure that you achieve professional-looking results, be sure to follow our step-by-step guide to window tinting. Take your time, be patient, and practice.
The Different Types of Window Tint and Which Is Best for You
There are three primary types of window tint available: dyed film, metalized film, and ceramic film.
- Dyed Film: This type of film is the least expensive and can be used for basic purposes such as achieving a darker tint.
- Metalized Film: This type of film includes a layer of metal that provides additional protection and reduces heat, but it can interfere with cell phone reception.
- Ceramic Film: This type of film is the most expensive, but it provides the best protection from the sun’s harmful UV rays, reduces heat and glare, and does not interfere with cell phone reception.
The type of film you choose depends on your needs and preferences, as well as factors such as cost, appearance, and performance. If you are unsure, consult a professional or do some research before making a decision.
Avoiding Common Mistakes When Tinting Your Windows
Although window tinting is a straightforward process, many people make mistakes that can compromise the quality of their work. Here are some common mistakes to avoid:
- Improper Cleaning: Failing to clean your windows properly can create air pockets or bubbles in the film.
- Inaccurate Cutting: If you do not cut your film to the exact dimensions of the window, it will not fit properly, resulting in an uneven appearance.
- Using Inferior Products: Subpar window film may start to peel or fade over time, so it is important to invest in high-quality materials.
To avoid these mistakes, be sure to follow our step-by-step guide to window tinting and take your time to ensure that you do not rush the process.
How to Save Money with DIY Window Tinting
Tinting your windows yourself can save you a significant amount of money compared to hiring a professional. Here are some practical tips for reducing costs:
- Research Prices: Look for deals and discounts on materials, such as bulk discounts, seasonal sales, and coupon codes.
- Choose the Right Materials and Tools: Invest in high-quality materials and tools to ensure that you get the best results possible and do not have to do the job over again.
- Do It Yourself: Avoid labor costs by tackling the job yourself rather than hiring a professional.
Conclusion
Tinting your own windows can be a fun and rewarding DIY project that enhances your car or home’s appearance while providing numerous functional benefits. By following our comprehensive guide to window tinting, you will ensure that you achieve professional-looking results that last. So, take on the challenge with confidence, and enjoy the rewards of your hard work.
